Rewind…

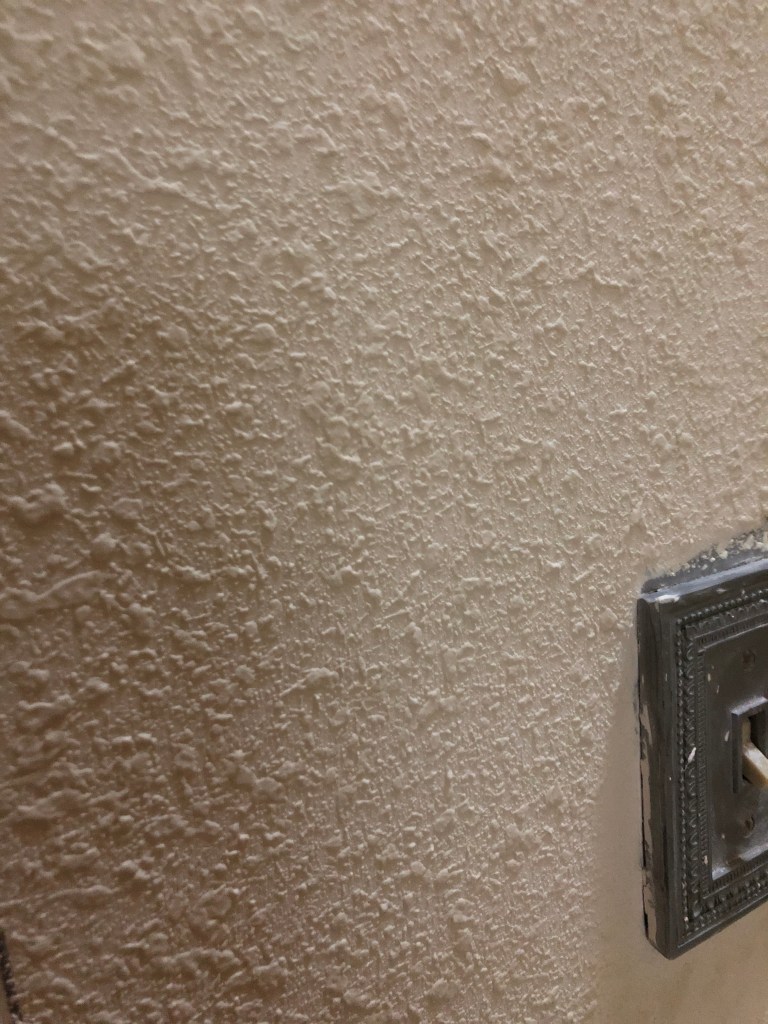
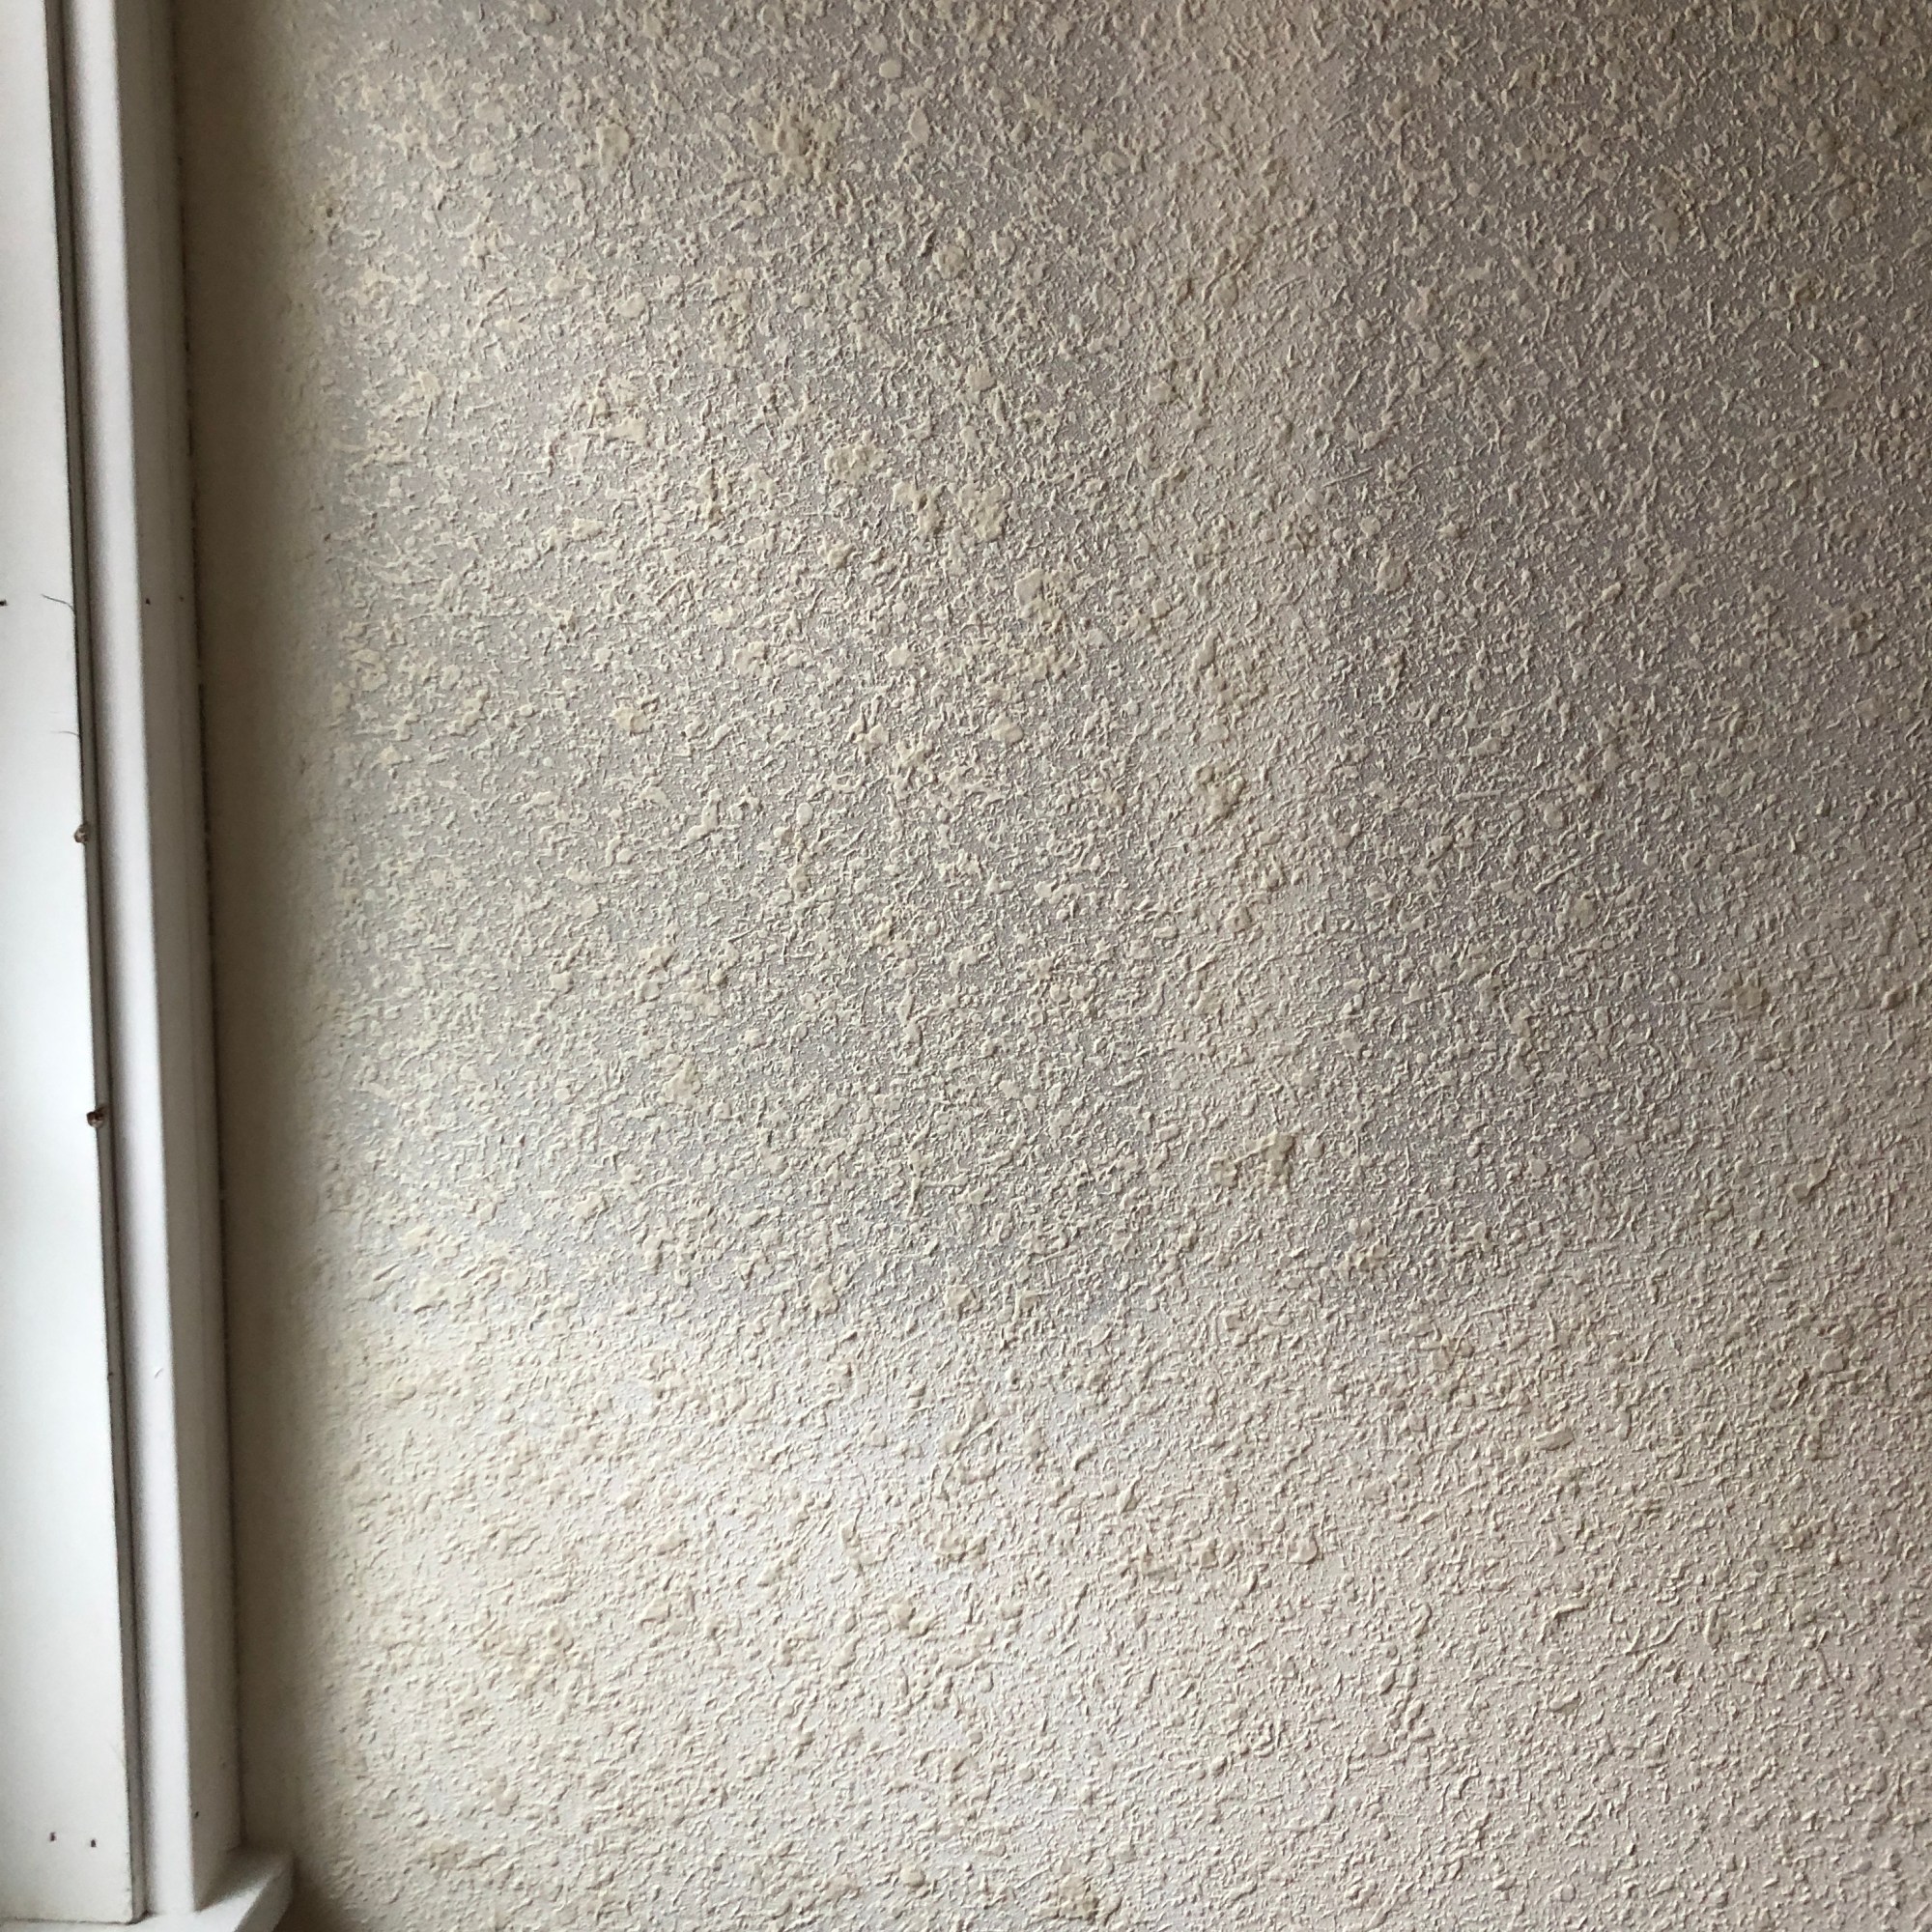
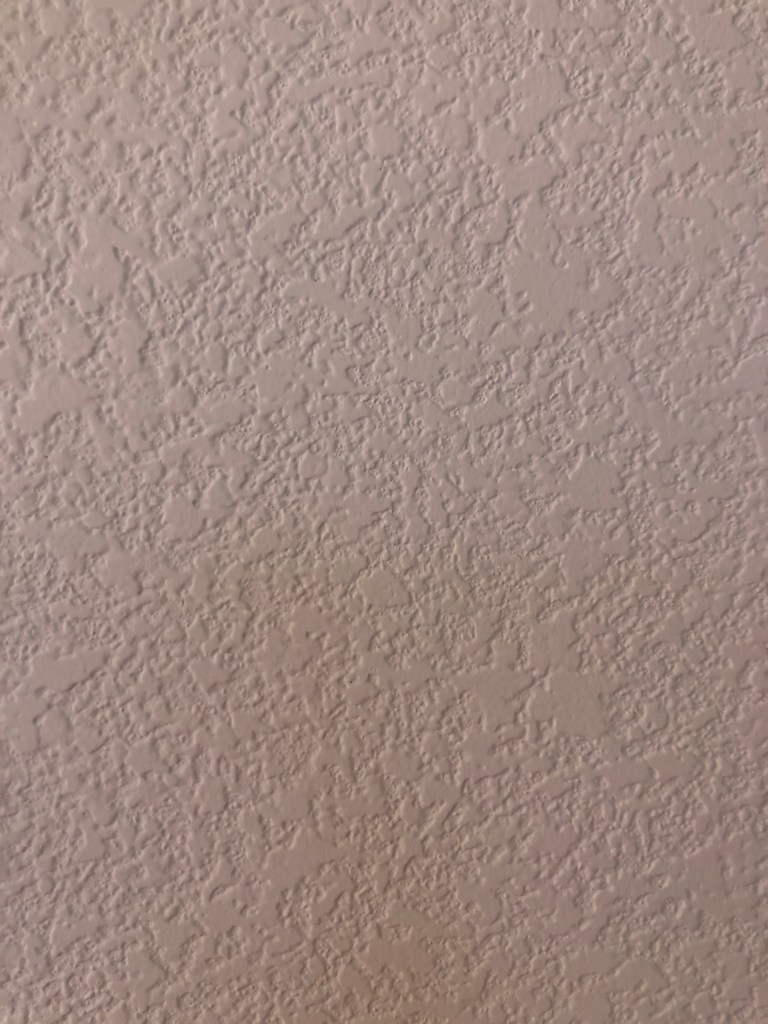
The orangepeel wall texture was stressing me out. As I talked to people about the textured walls everyone kept encouraging me to fix it now. There would never be another time like this when we have no carpet, no light fixtures, no furniture… (we did have to finish the hardwood floors in the middle so that was kind of a bummer timing-wise, but totally worth it). So I finally begged the contractor to help me fix the problem. The only solution to orangepeel that thick–is skim coating (Level 5 finish). They basically roll on a thick layer of drywall joint compound across all the walls and then smooth it out with a trowel, let dry and repeat. I felt ridiculous back-pedaling like this, we had already PRIMED AND PAINTED all the walls! I think my painter was going to cry.

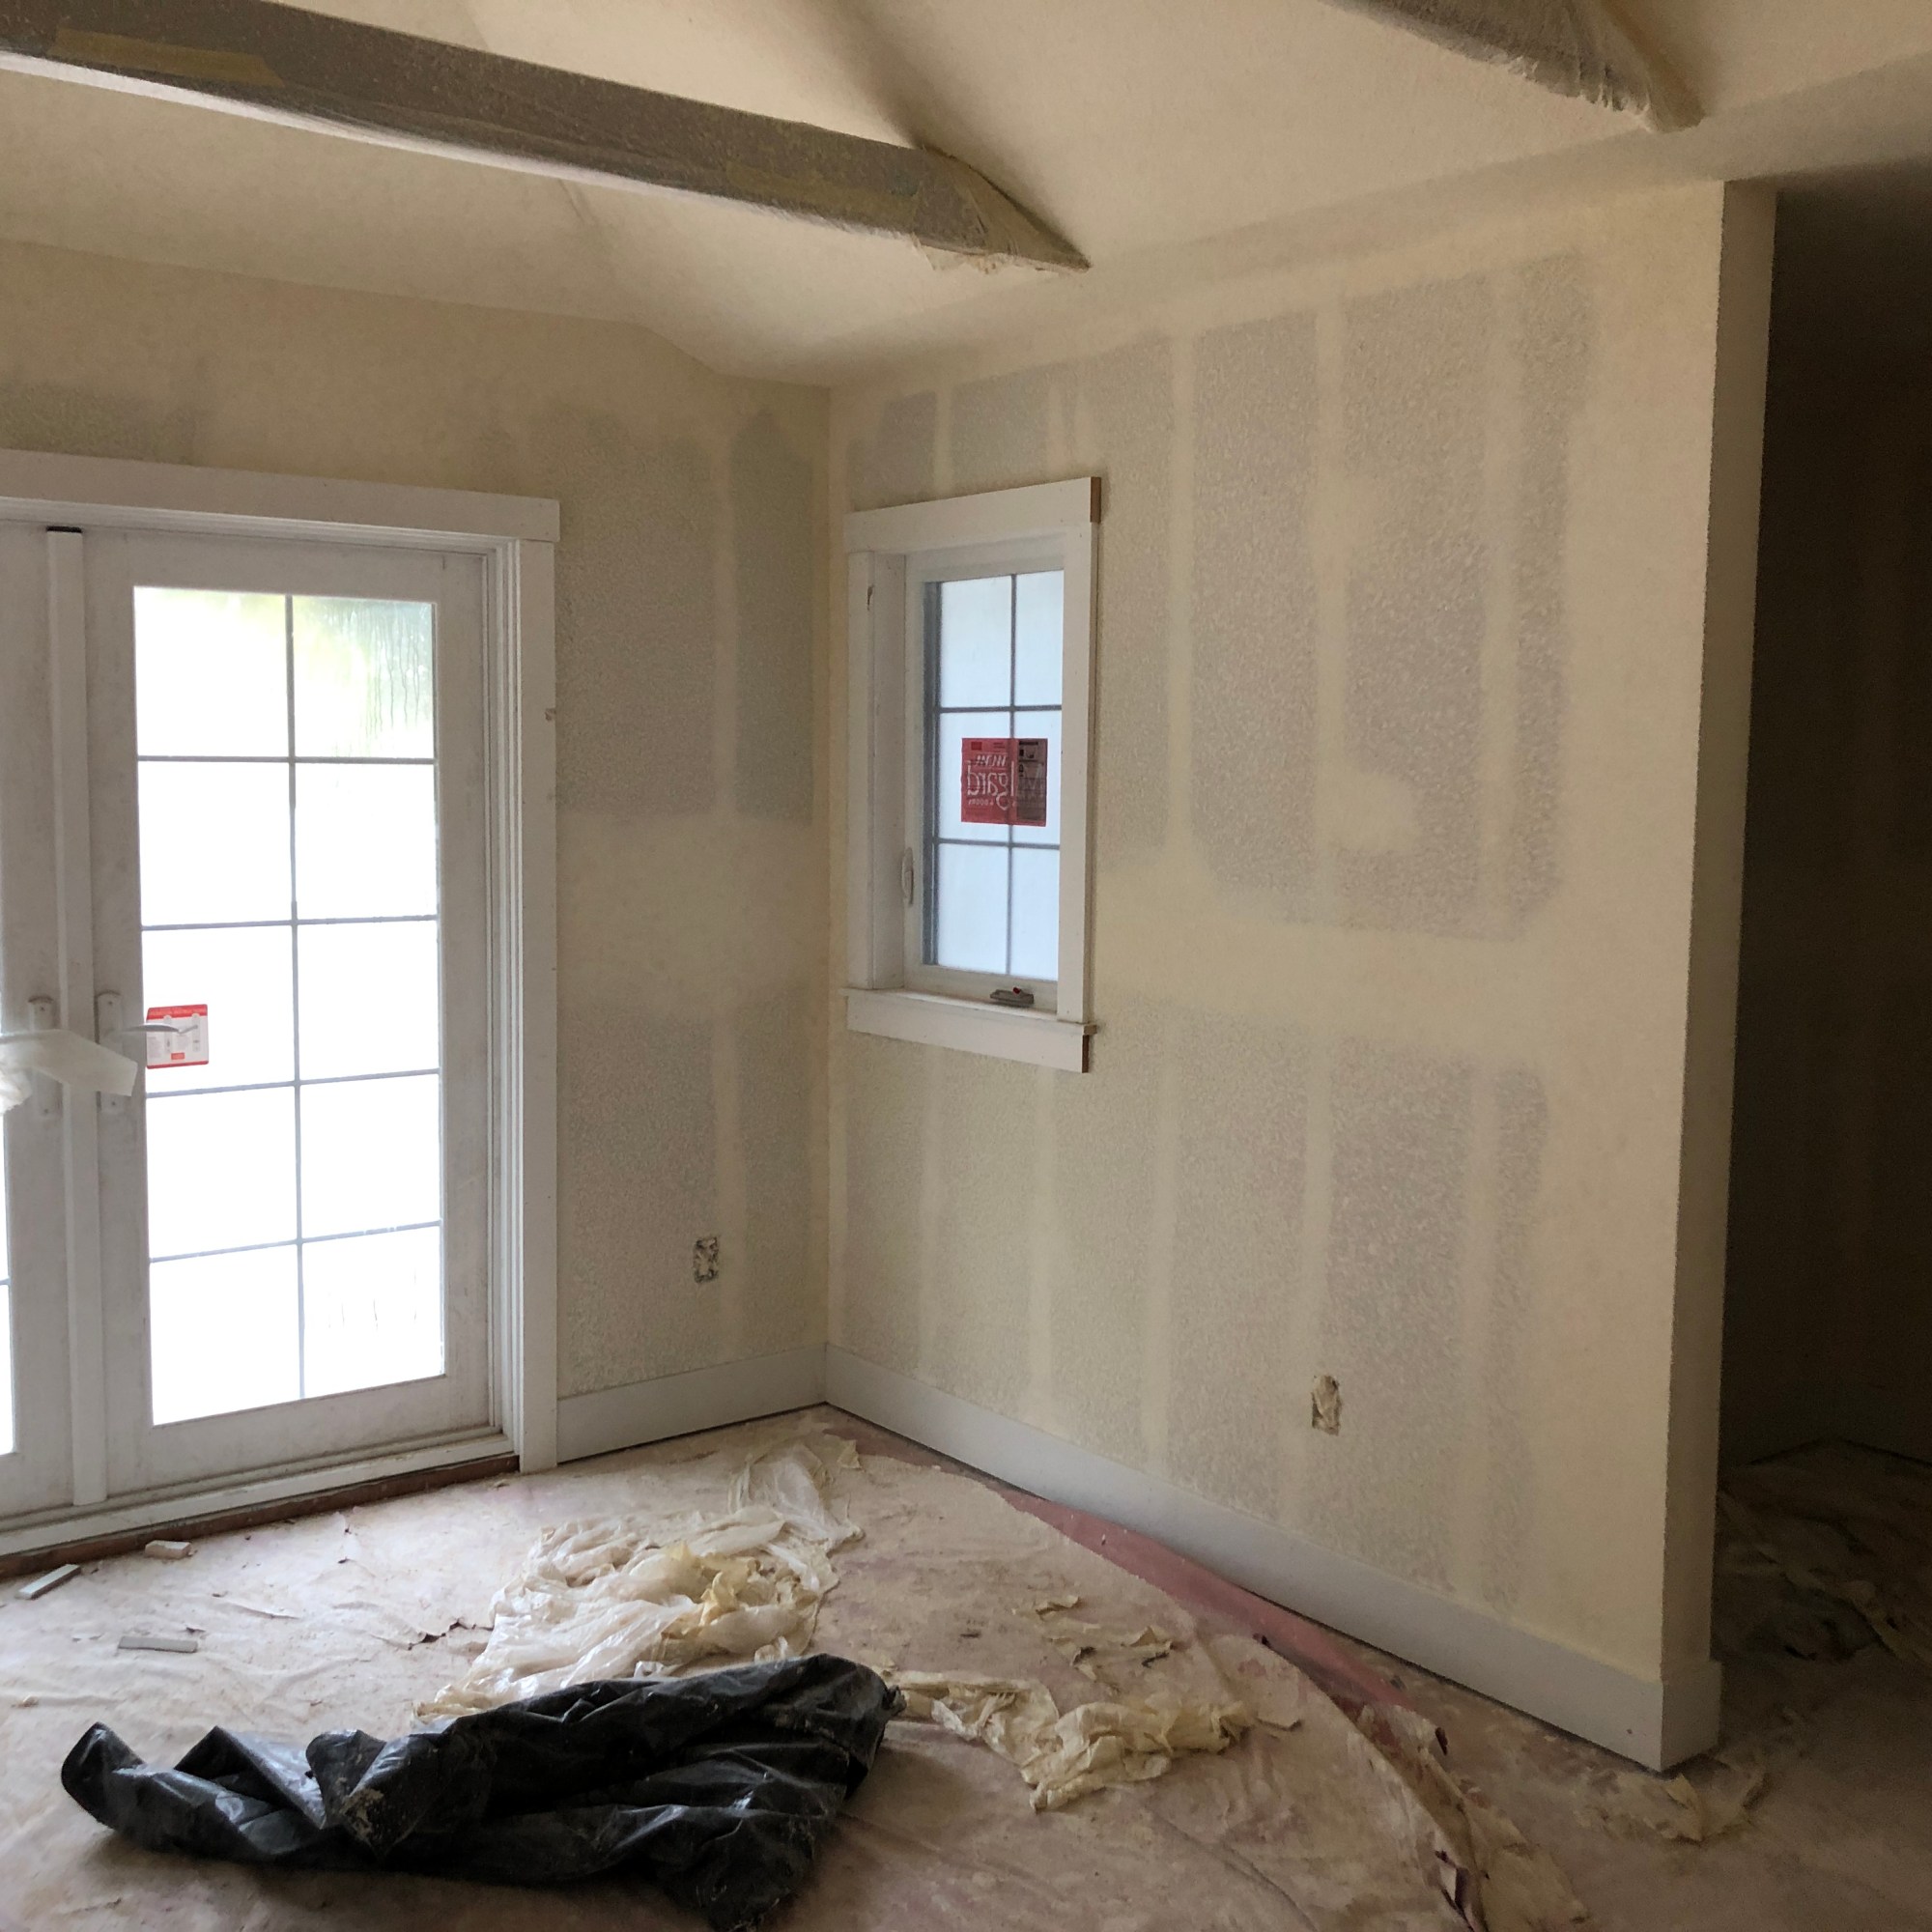
Contractor was able to negotiate a deal with the drywall guys and they came by to “erase” the texture.

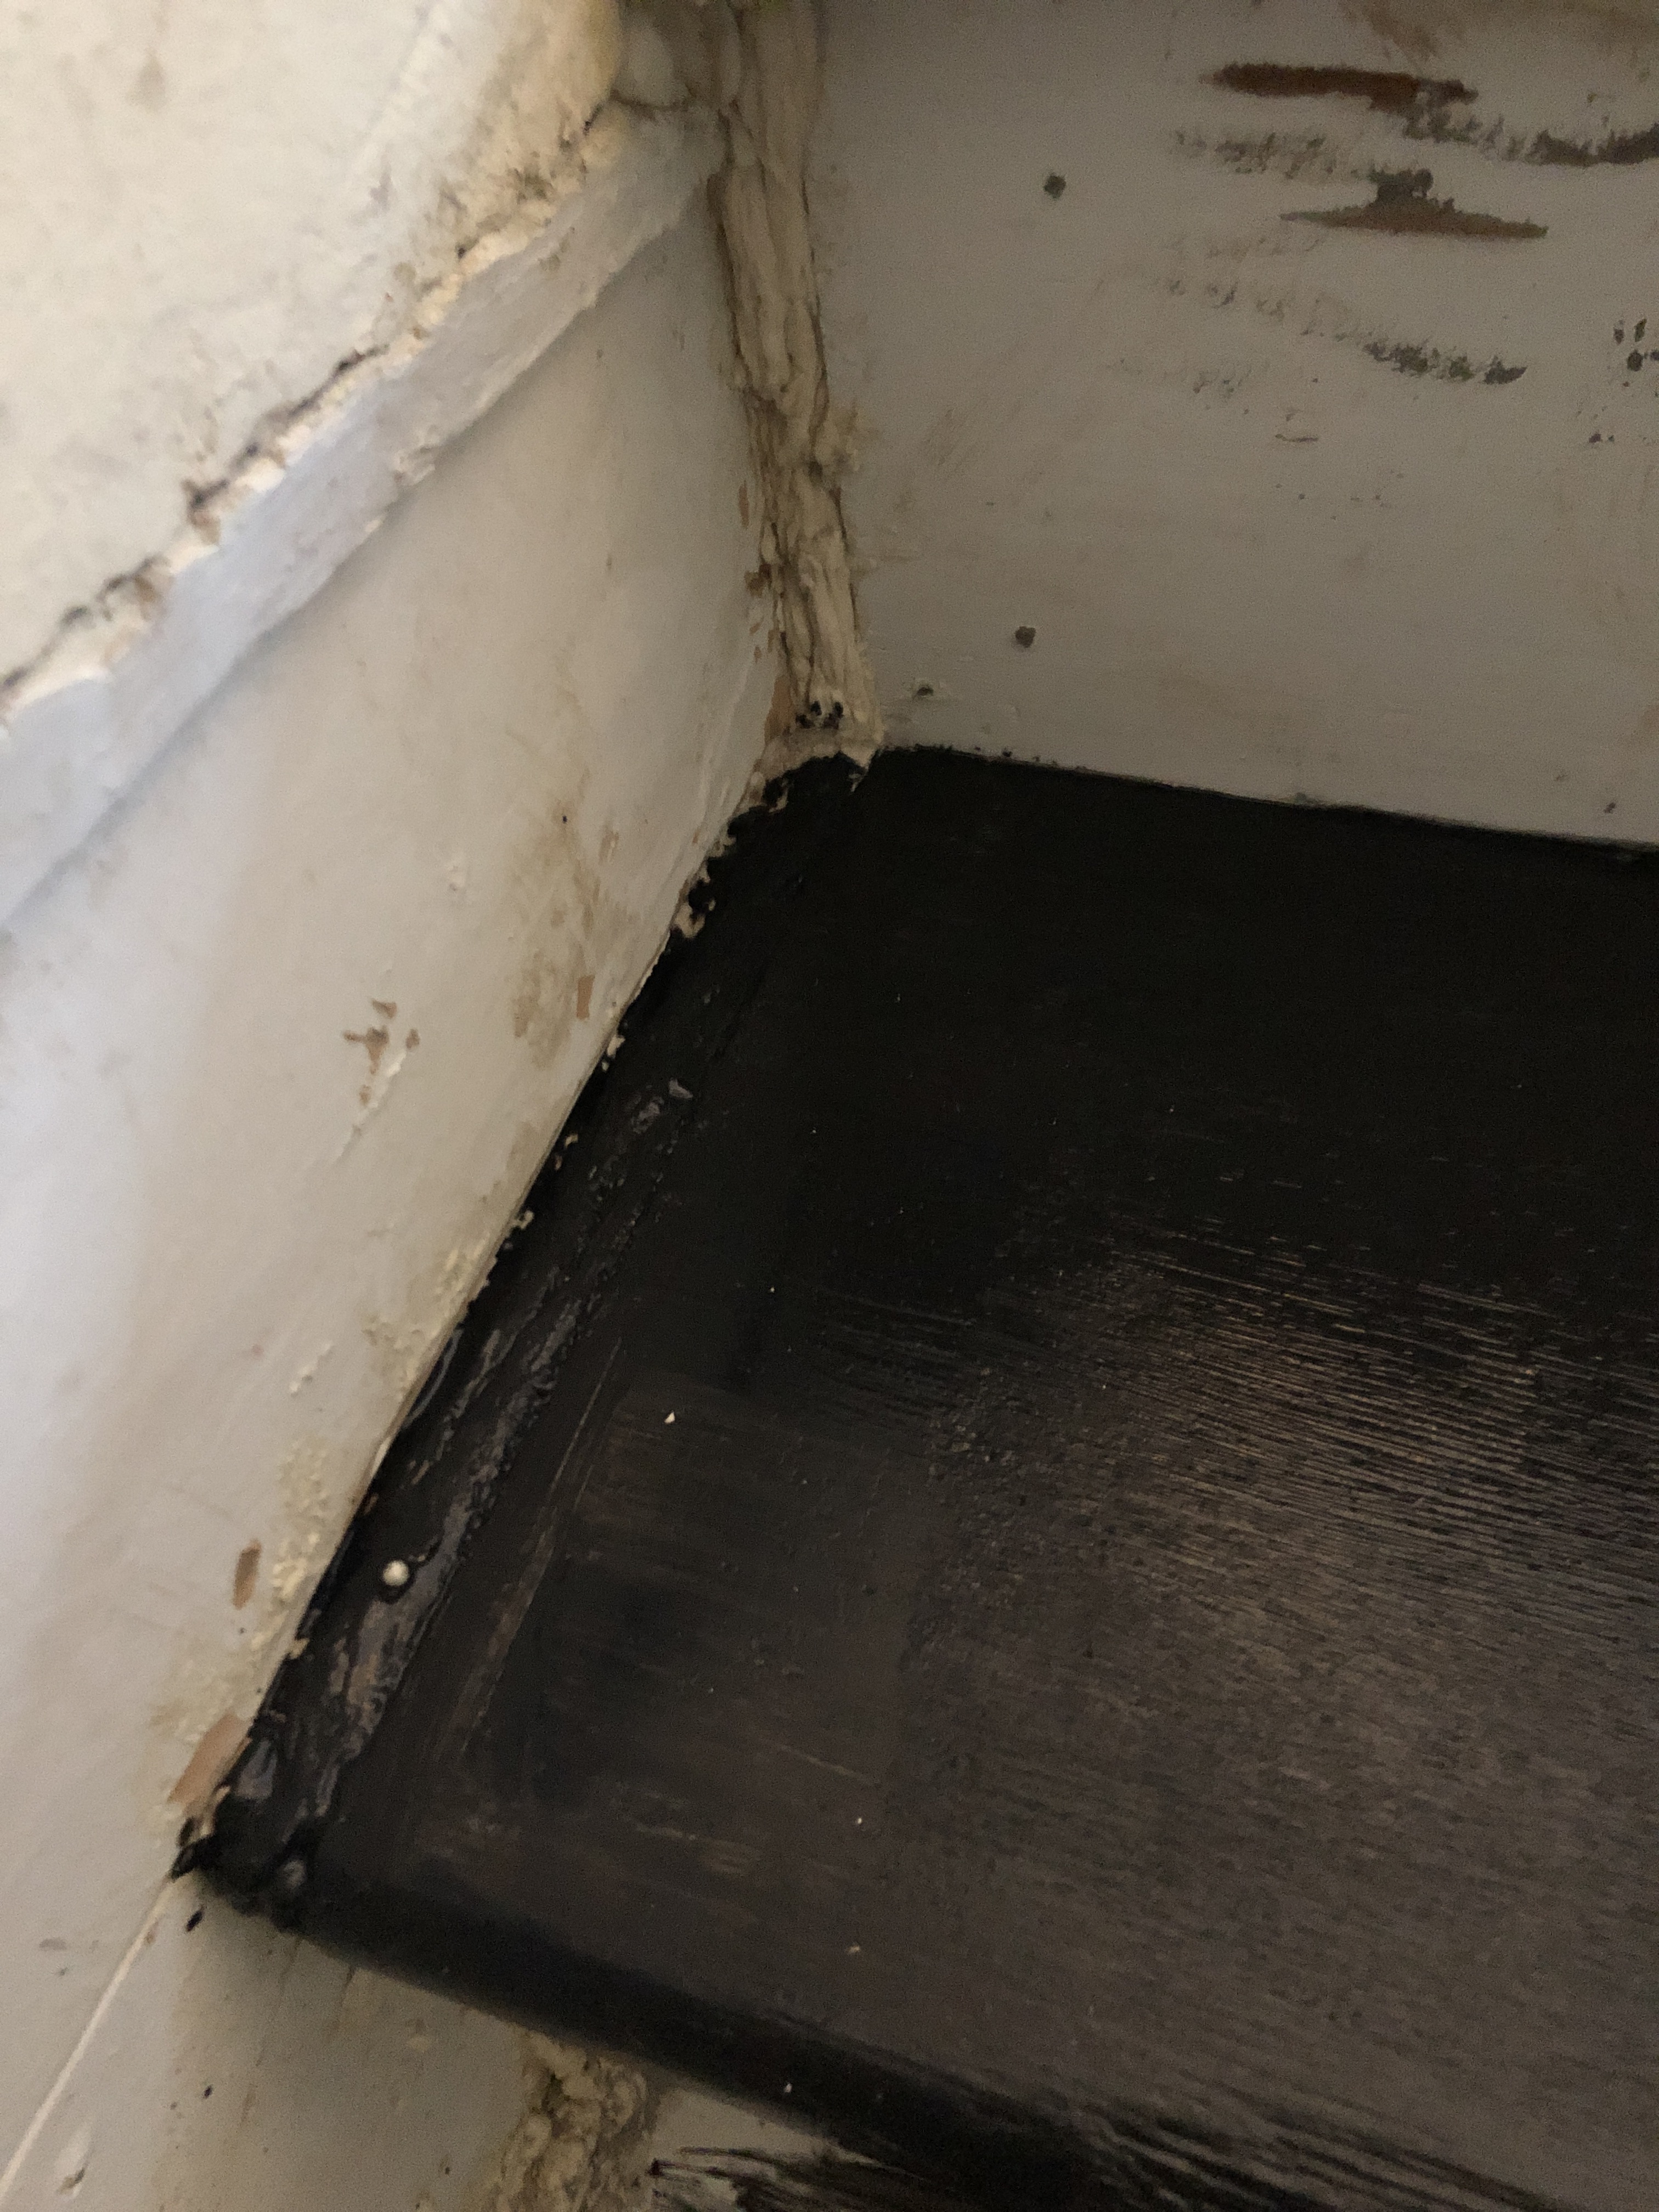
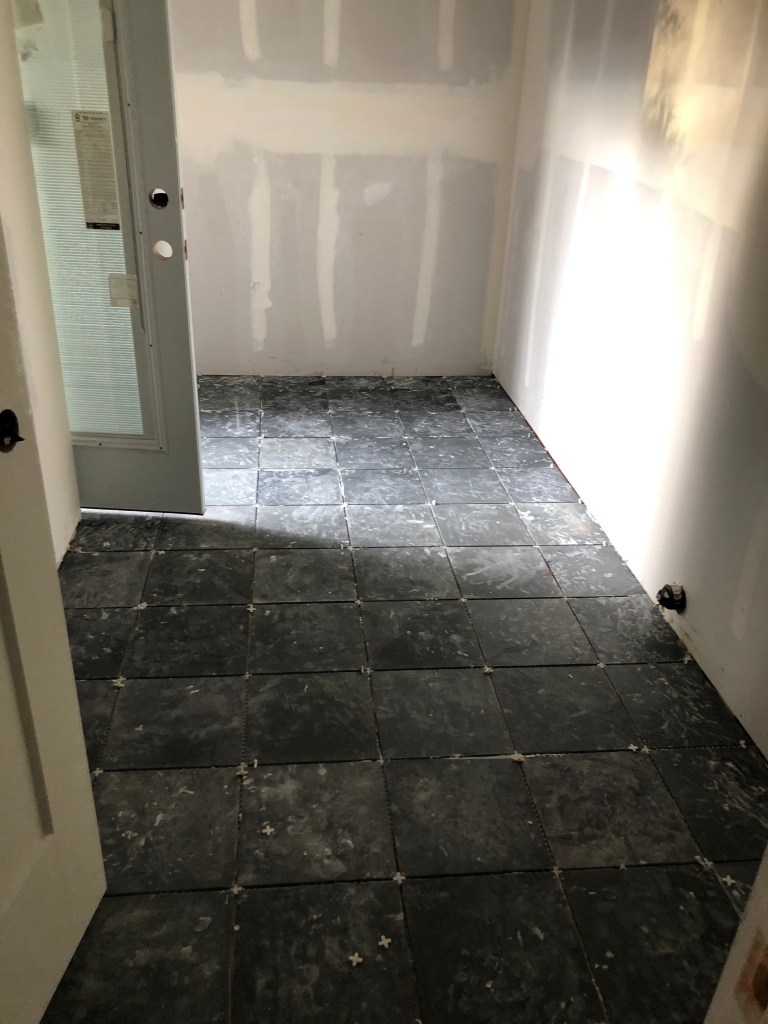
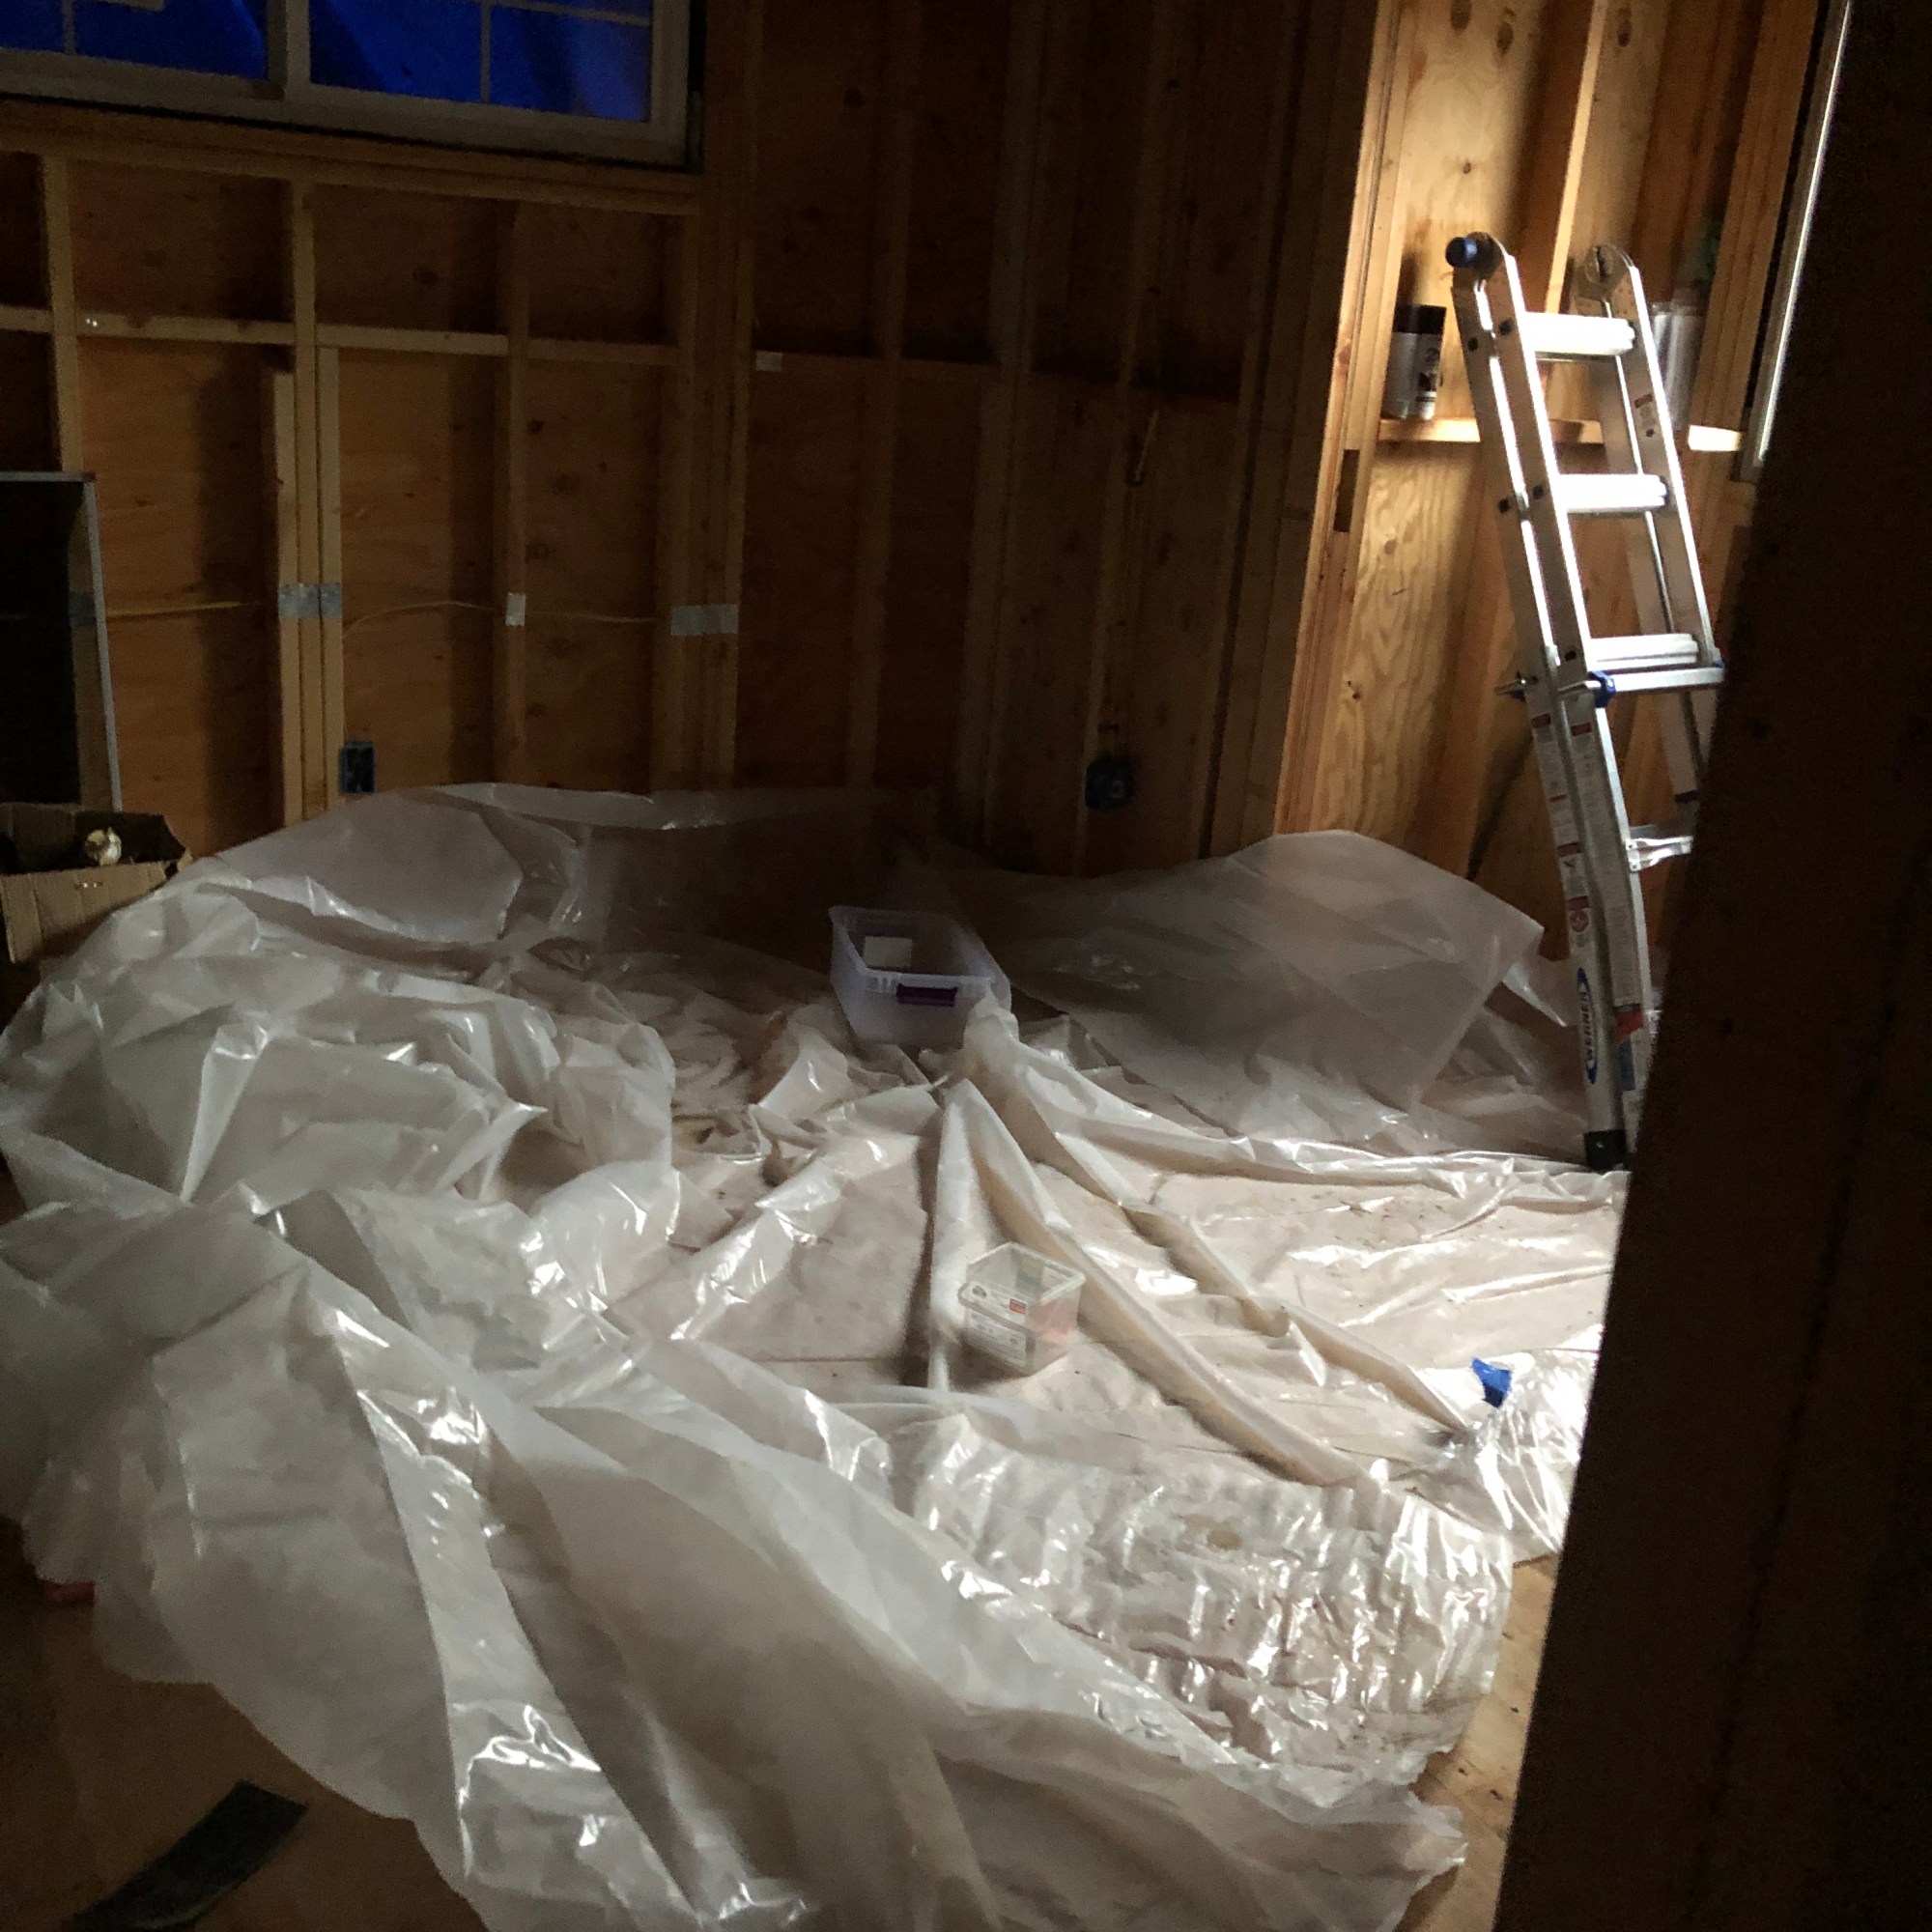
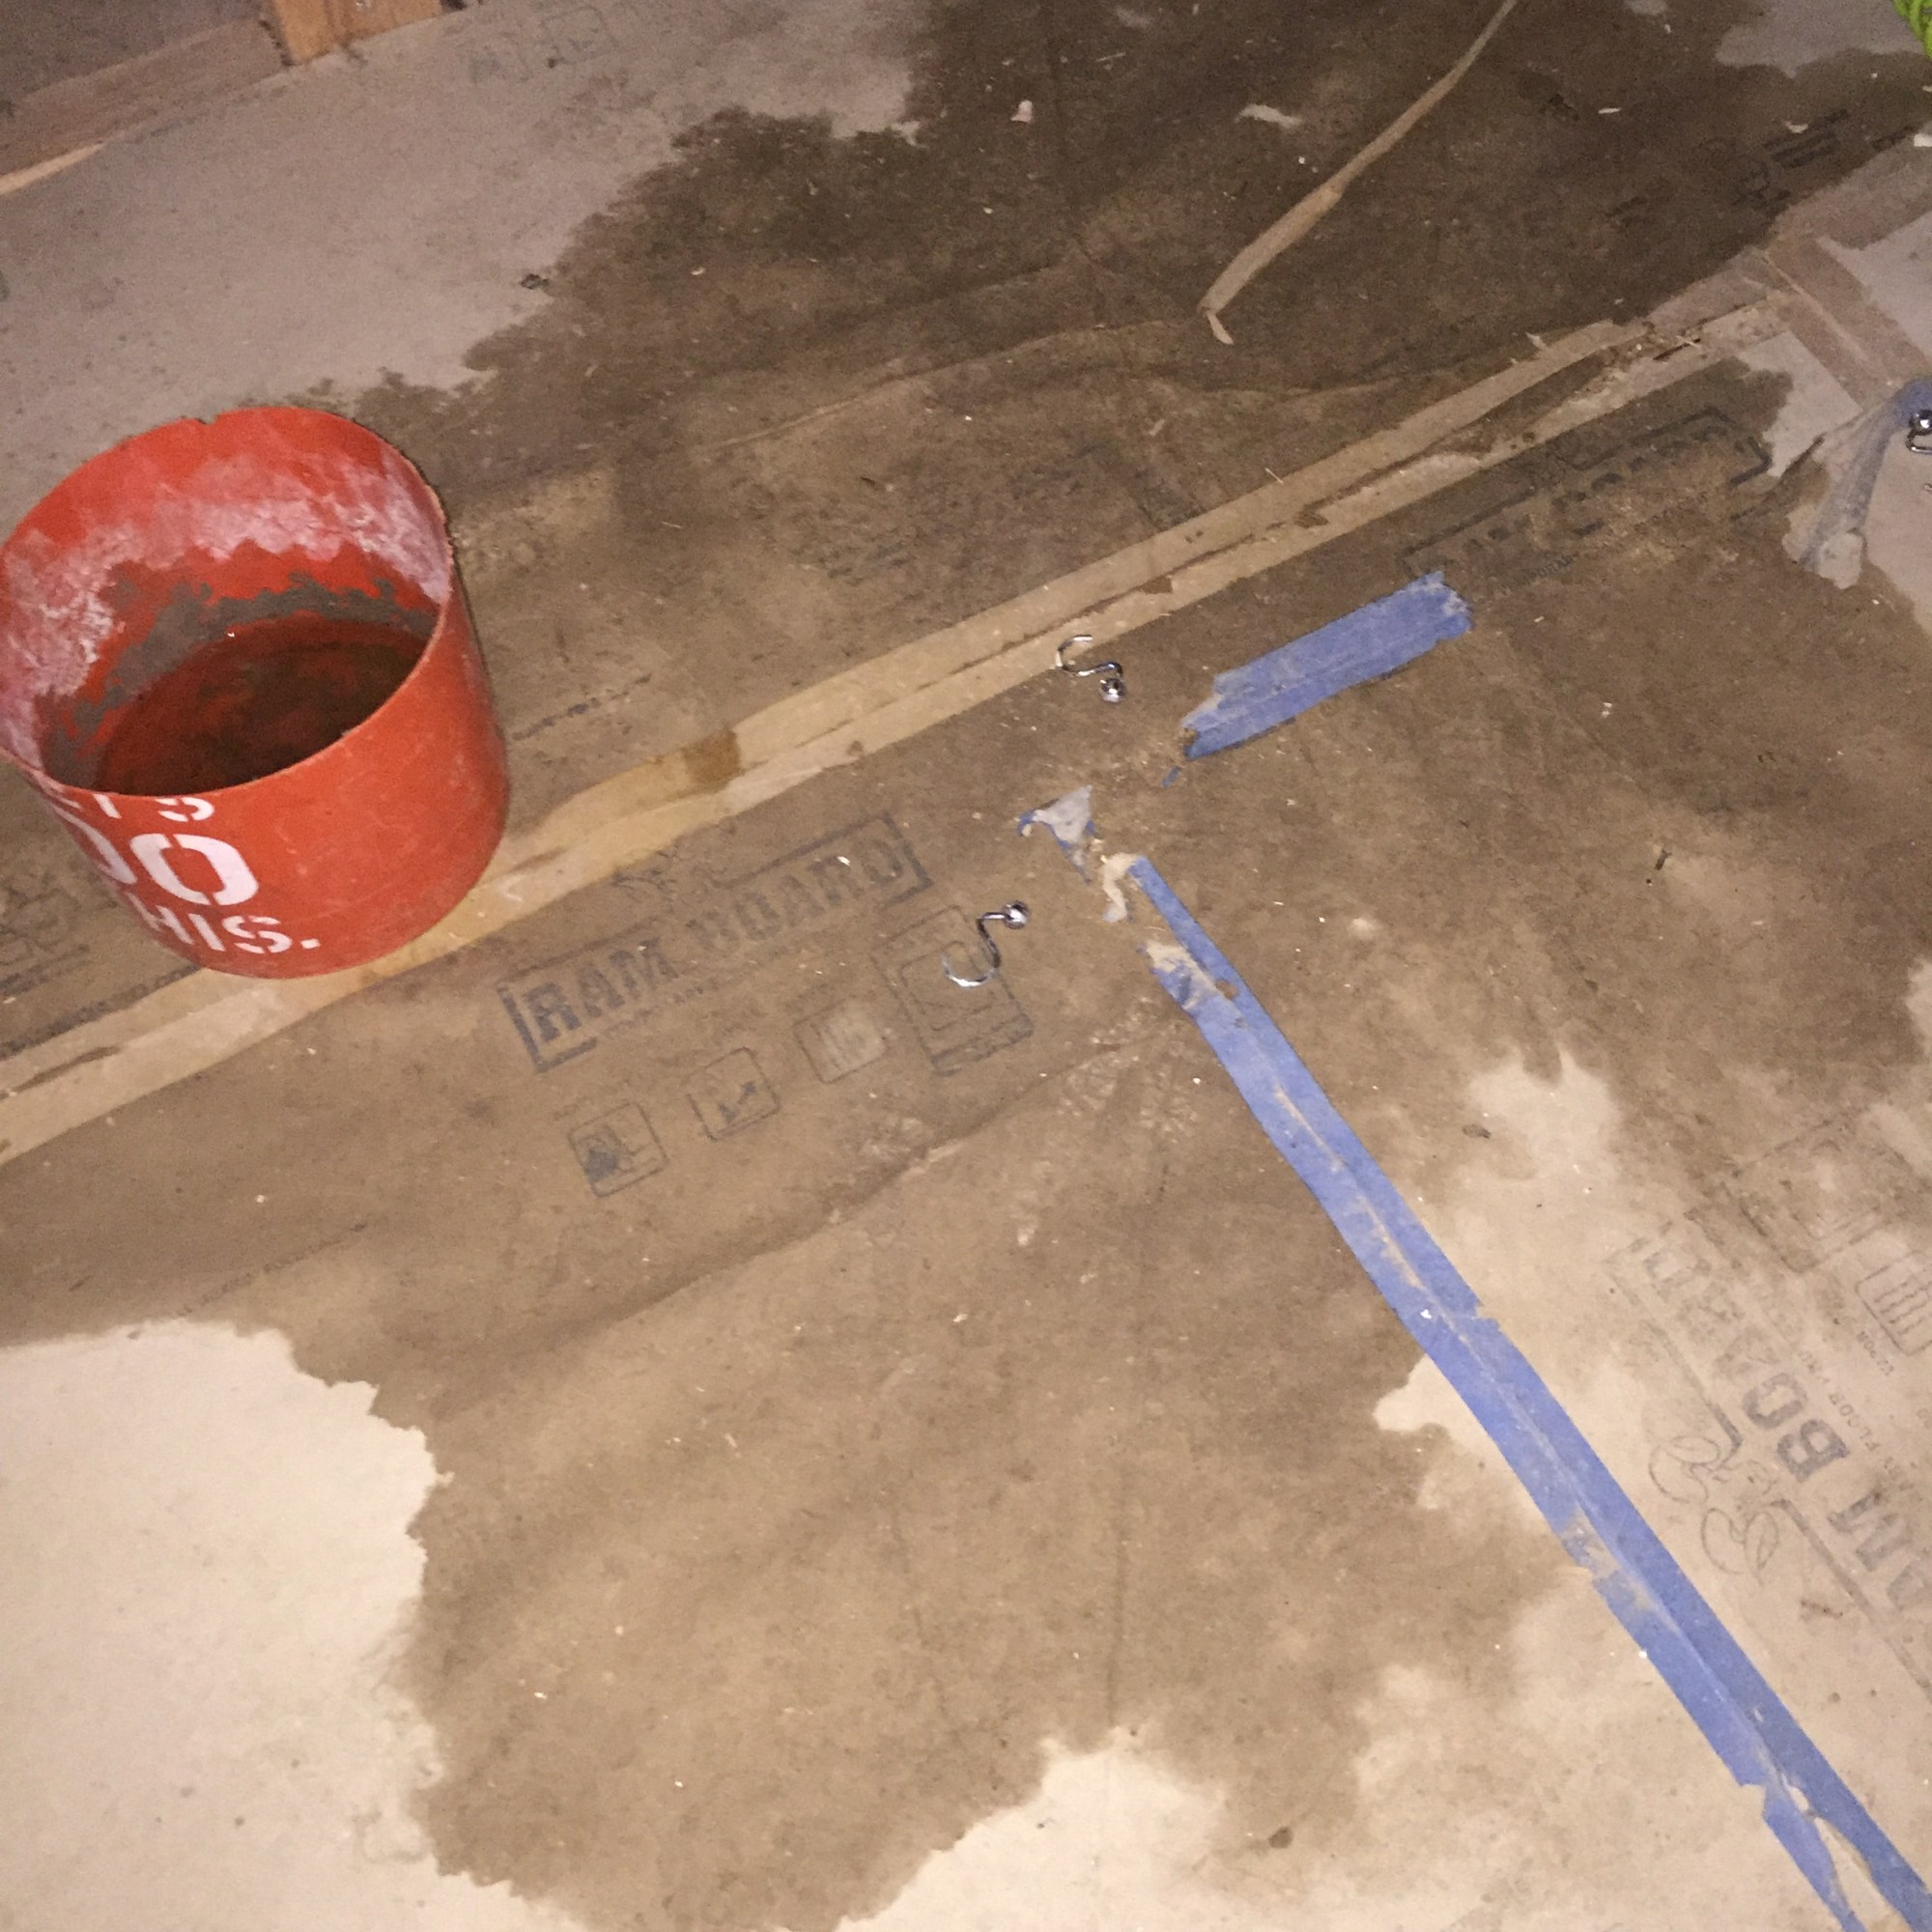
They made a big mess. That’s just how it goes.

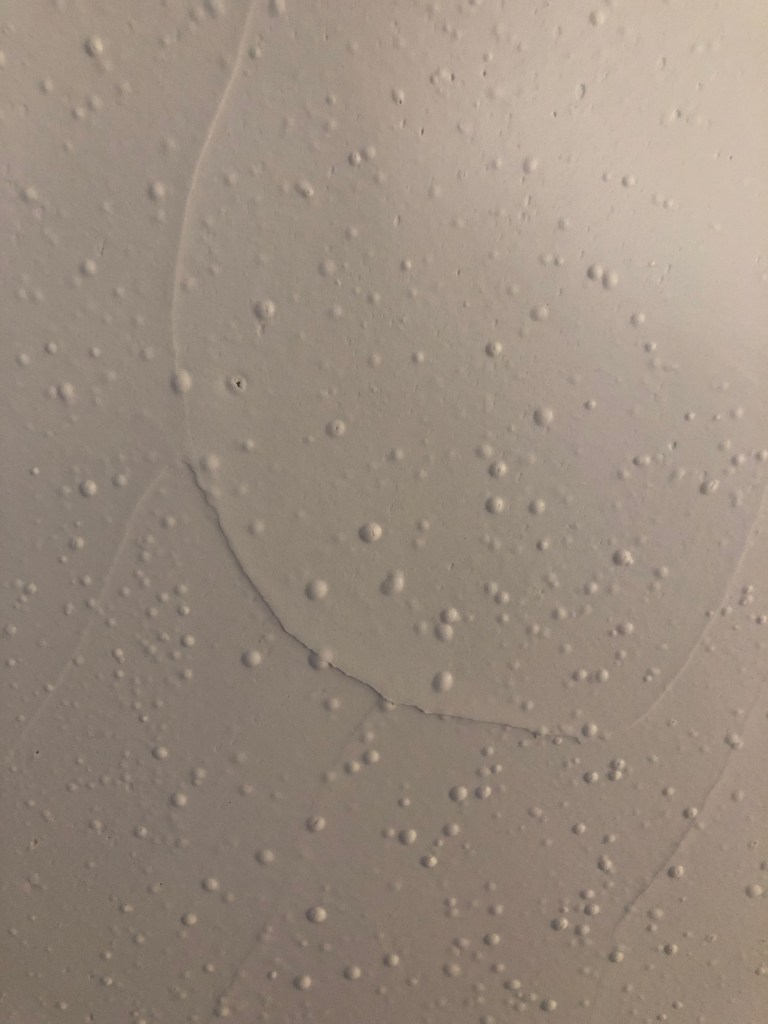
The old plaster walls in the living room were not cooperating very well with the first coat though. They started bubbling and were VERY slow to dry compared to the rest of the house. This delayed us a few days because we couldn’t start the second coat until the first coat dried.

Fast Floors

Our basement had 100 year old stairs that had seen better days. When we originally moved in they were covered with left over carpet from upstairs.

I pulled the carpet off, painted them white and put those little black sticky treads on them. We weren’t sure WHAT to do with these stairs for the remodel. The Contractor kept avoiding the topic and acting like there wasn’t a good solution.

I spent some time googling and had a plan to fill in the gaps on the sides with spray foam and paint them all black. It didn’t really come out so great. My husband was not a fan.

We stopped by a flooring store to see if they had any thin material we could use to cover the steps (you have to be careful not to add too much height or it makes everything wonky). They showed us some thin waterproof laminate flooring that had matching bull-nose stair pieces and said their guys could install it no problem. So we scheduled it and boom. In one (LONG) day these guys came in and laid this quick flooring in the basement and all the stairs.

It obviously doesn’t match the wood floors, but definitely looks better than it was and should be a good, sturdy waterproof material for the basement.

A Pile of Tile

While the several weeks of steps for drywall was going on, they started working on tile in the bathrooms. I had a lot of simple, white, 3×6 subway tile in my plan. The house was originally built in 1926, so I was trying to stick with that era generally in my designs. I think I bought about the cheapest subway tile available, but it is clean and simple. I jumped on the hex bandwagon for the floor tile and used a large black hex for the master and small black hex for the other two bathrooms. It took 2 guys about week to tile the floor, full shower walls, and about halfway up in sink areas in each bathroom.

Yea, it’s sort of boring, but I have seen my share of dated tile bathrooms so hoping this is neutral enough that I won’t be sick of it in 5 years!

Our tile guy knew what he was doing, but I don’t think he was a super pro or anything. I was really impressed with a couple finished trim edges he pulled together though. Corners can be tricky!

They also tiled the floor in the mudroom with a cheap black slate tile that is pretty close to the tile that we have in the front entrance.

The grout though…

I’ve heard a lot about this new acrylic grout that is suppose to completely repel water and mildew that is very appealing to me with all this tile! The general contractor hasn’t worked with it though and is skeptical. I’ve had traditional cement grout in a shower before and it was terrible to clean so really hoping to give this stuff a shot.

I bought some of the pre-mixed acrylic grout and talked to the guy actually doing the tiling. He was okay with trying it, but I am not really sure he understood the directions. The pre-mixed acrylic grout dries faster than traditional and supposedly is hard to wipe off the tile face after it dries (unlike traditional sanded cement grout). It did seem a little harder for him to apply, but I didn’t really notice any issues with residue on the tile face. I was doing white grout on white tile though so maybe it was just less obvious.

Ultimately we went with a hybrid product, sanded grout with added polymers (Mapei Keracolor sanded grout). We ALSO used the Mapei Grout Maximizer instead of water when preparing the grout. This got expensive, but hopefully time saved on tile cleaning down the line will be worth it!!

Just Trim It

Once the drywall was all up we needed to start working on the trim for windows, doors, and baseboards. Our house had a classic 4 inch straight craftsman style trim around most of the doors and windows.

I really liked this style. It annoyed me in a few of the previously remodeled areas that they had either used a smaller 80s style trim or that the 4 inch trim didn’t fit so they had to cut it on one side or something making it asymmetrical. I specifically spoke to the architect about this and wanted him to make sure there was room for the proper trim when designing the doors and windows so I *think* this was accounted for in the plans.

Of course when the actual walls went up we shifted a couple things a couple inches here and then low and behold… MANY doors and windows did not have room for the 4 inch trim. ANNOYING.

I discussed with the contractor when deciding on the trim style and decided to go with a 3 inch window/door trim instead. This would allow most of the doors and windows to look symmetrical at least. I am pretty sure I told him, just to leave the old trim in the entry and the living room and transition to the new trim size in the rest of the house… but of course he started ripping out ALL of the old trim. I get that it is nice to have everything match, but every time you change something, it seems to cause other problems!! Now since the new trim is smaller we have to patch all the walls that wouldn’t have had to be patched.

The baseboards should have been pretty straightforward. I just wanted the flat board sort of trim 5 or 6 inches tall, just plain old simple craftsman style.

Contractor started installing this:

I became emotionally unglued over this stupid baseboard trim.

BACKSTORY: We lived in an apartment with trim like this. I remember distinctly because the little line detail was used as an ANT highway during an ant infestation.

So for one thing, it’s not what I wanted. It is a modern style and I am trying to at least go for a slightly simple traditional look.

Also, I can’t look at it without thinking about ants.

Luckily, he had only installed it in one room and when I expressed my concern, he was able to remove it, get what I wanted and reinstall. Ahhhhhh, sign of relief. Just what I wanted. Simple, non-descript, plain looking baseboards.

That’s a Bumpy Orange

Installing drywall takes FOREVER. Once the insulation passes inspection they started nailing in the drywall over the insulation and on the ceilings. They used purple drywall in the bathroom walls because they are better for wet areas. That took several days.

Then they had to tape and apply joint compound to seal up all of the seams. This they had to dry which takes several days in a house with no HVAC during the wet winter weather .

Once finally dry, they sanded it down. The place was so dusty it looked like it was snowing.

Lastly they apply the texture. Here is where things went wrong. SO SO SO wrong. I was told that super smooth walls were hard to achieve without very skilled workers, that they took a long time and were expensive. They recommended a “fine orange peel” would as a good compromise, so I let them do their thing without asking questions. This is what we ended up with.

Now that is a bumpy orange.

It is all I can do to not personally take some sandpaper to the walls every time I go over there. (I did actually gear up with a mask and sanding block to sand a few walls but not really sure I made much of a dent!) There is heavy texture all over the walls and ceiling. It’s nauseating. We literally have nightmares about it.

The drywall team is cleaned up and out of the picture. I asked the painter to add some sanding to his plan. I didn’t expect smooth walls, but anything to take the edge off would have been great.

Unfortunately, the painter didn’t really do any sanding! I think it was all a little overwhelming. After paint (and my attempt at sanding) it looked like this:

The bathrooms where the worst though. That semi-gloss paint really brings out the texture in a terrible way.

Stuffin’ Old Jeans in the Walls

Now that the house is basically waterproof, we can install insulation. But not just any insulation…

RECYCLED DENIM INSULATION!

We needed some green building recycled product credit and this is a great way to get it. Denim insulation is available at Home Depot and Lowes, but you do have to order ahead of time (delivery can take 2 weeks). It comes in sheets like regular insulation but it’s made from grinded up post-consumer donated blue jeans! Google will tell you all about pros (it’s recycled, better for noise dampening, safer for installers…) and cons (more expensive, hard to get dry if it gets wet…) but overall it seemed like a good idea.

The contractor was a little weirded out, and I heard that even the building inspector was surprised and unfamiliar with the product. They passed the inspection though and on to drywall!

It’s Raining, It’s Pouring

We had a few bumps in the road on the roof install. They put all the shingles on and then failed inspection. Apparently they did not read the Palo Alto code requiring metal flashing in the valleys. So then they tore off all the shingles and started reshingling. I was stressing out an obsessively checking the weather because we were expecting the winter rains to start any day. This was right before thanksgiving so it was a crazy time trying to get people to work and also try and keep things light for our family activities.

The roofers got the point where almost all the second try shingles were installed. There was just a small portion (maybe 20-30 sq ft) over the new addition that was not shingled, but still had the initial water-proof black paper installed. I was concerned that we needed a tarp, but the roofer assured me that the black paper would keep things water tight until they could get the last shingles installed.

So the rain storm started and I popped over the check how the roof was holding up. Of course, there was water everywhere. We came to realize that the initial shingle install had left nail holes in the waterproof black paper which allowed water to drip through the paper and plywood sub roof. I basically freaked out because I was concerned about getting the wood wet and creating conditions for mold. I laid plastic sheeting on the floor and gathered as many plastic storage buckets as I could from around the house to collect the drips.

It was a rough night for me, I kept going back to the house to check on the buckets and dry up the floor sheeting with towels. I am not sure if my actions helped or not. The next day I asked the guys to put a tarp over the unfinished part of the roof and that kept out the rain for the next few days until they could finish the shingles. I was really worried about all the interior framing being wet, so I turned on my little space heater in the room off and on for a few days.

In the end it took us about another month to get to the insulation and drywall stage so I think the wood had plenty of time to dry and it probably wasn’t THAT big of a deal after all. It definitely would have saved me some stress to just have that tarp on the roof until everything was done though!

What the Stucco?

By November I felt we were on borrowed time. It was CRAZY that we hadn’t had real rain yet. I was super paranoid about mold and warped wood and really didn’t want the framing and plywood to get wet. I hassled the contractor daily about the stucco schedule. I really just wanted to get to the first step with the install of water-proof paper and chicken wire (lath). Just getting to this stage is good protection from regular rain.

There was one wall on the second floor of the house that they hadn’t gotten too, so I talked the workers on site to help me put up a tarp to keep the plywood dry. I think they thought I was weird, but I felt better about it.

A few weeks into December we got the “scratch” coat on. This means they had all the window flashing in and put up a first layer of stucco that was sort of raked for texture. This provides a very solid water-proof layer, but needs about 2 weeks to set before applying the second layer: the brown coat. They then apply the final finishing coat 2-4 weeks after the brown coat. The final coat requires 4 weeks of dry time before we can apply paint.

Basically, after install of scratch coat, we still have a minimum of 8-10 weeks before we can finish the exterior. Not sure what happened to the stucco subs though. They seem to have skipped town. 6 weeks after scratch coat and no sign of them…

Window Pains

Oh the windows. I hear that most people have window issues. They take a long time to arrive and there are often errors. I new we had to get the windows ordered ASAP so I tried to set up a meeting with the contractor to go over the window order right after demo. I wanted to keep it simple, match the existing white vinyl windows with a mid-grade (Milgrade) brand. Mostly sliders (instead of fancier casement) to keep costs down.

Slider Window
Casement Window

So we went through the plans and made a list of windows to order. I was very proud of myself for beating the norm and getting the windows ordered super early.

But… of course there was a problem. The new upstairs bedroom required a french casement window for egress. There wasn’t enough room on the wall for an egress slider and Milgrade doesn’t make a french casement that size. So there were several weeks of calling around different companies and trying to understand our options. Finally we pulled the trigger on an Anderson window that met the specs. This SINGLE window cost $3500. (most of our other windows were $300-500).

$3500 French Casement Window

The windows were delivered at least a week late and there were a few mistakes. Somehow we ended up with 3 or 4 extra windows. To this day I am still not exactly sure if this is the contractor or Home Depot’s fault. I am also not sure what to do with these extra windows!

They finished the window install (which completed our basic exterior water-proofing) literally as the rain was just starting to fall for the first big fall rainstorm. It was a relief, until we got to the leaking roof issue…

MEP

(Things have been crazy so I am catching up…) Now that framing is done, we move onto MEP (Mechanical, Electrical, and Plumbing). This whole process took about 3-4 weeks. Different subs were in and out every week and the windows were also installed during this period.

Mechanical: The HVAC guy started by installing the ducts and vents throughout the house. We had to discuss where to install the return vents. Contractor said to put it up on the wall near the ceiling in the family room… I think this maybe makes sense from an efficiency standpoint (it would better pull the hot air and keep it cool), but aesthetically I am not having it. So it’s going on the floor in the family room instead. We will work around it.

It definitely got a little crowded under the house with all these pipes and ducts fighting for space.

Eventually he installed the actual indoor units as well. The heat pump has these coil things hanging around outside in and the walls ready to be connected to the outdoor part of the unit.

Electrical: I walked through the house with the electrician and pointed out where to put all the outlets, recessed/flush mount lighting, which switches to control which lights etc. He started by just nailing in the little electric boxes in each location to make sure I liked the set up before he started the actual wiring. We had to add about 25 extra lights/switches/outlets from the original plans because the contractor actually *had* to demo more walls than the architect expected. So tack on an extra $6K to the bill for that.

Plumbing: The plumber mostly just did his thing. I had to have the bath/shower valves (the part that goes inside the wall) ready for him at this point, but we don’t need the actual trim (the handles and shower heads) for a long time. Basically you have to choose the brand of shower fixtures you want pretty early, but you can take your time with the actual finish design.

Also around this time they did some kind of leak test where they pressurize the system or something. They found some leaks…